

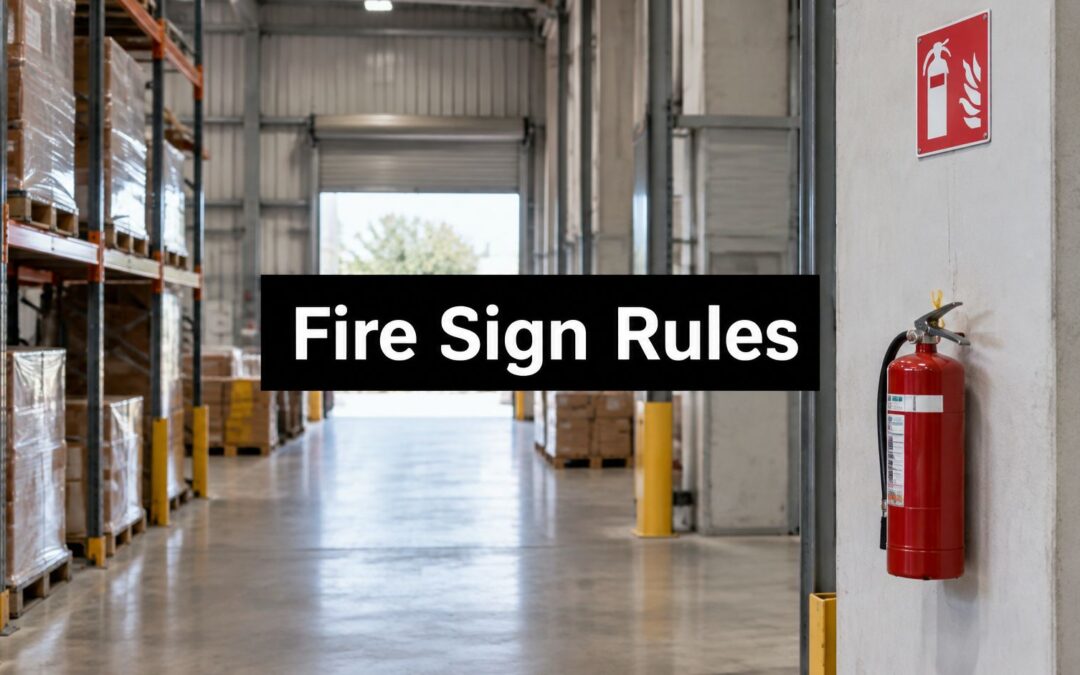
Walk into most warehouses and you'll find the extinguisher in a few seconds, because you already know where it is. The test that matters is whether someone who's never set foot in that aisle can find it from the doorway, with a pallet in the way.
That's the subject of fire extinguisher sign requirements in Australia. The sign isn't a label stuck beside a red cylinder. It's the thing that turns a piece of equipment into a findable one under pressure, and the measurement that decides whether it works gets taken on the approach path, not from directly beneath the bracket.
Fire Extinguisher Sign Requirements at a Glance
The numbers an inspector or safety officer checks, in one place.
| Requirement | Benchmark | Source |
|---|---|---|
| Visibility on approach | Visible from up to 20 m in every direction | CFA Victoria; Fire and Rescue NSW |
| Sign mounting height | At least 2,000 mm (2 m) above floor level | Fire and Rescue NSW |
| Extinguisher handle height | No more than 1,200 mm above floor | Fire and Rescue NSW |
| Extinguisher bottom edge | At least 100 mm above floor | Fire and Rescue NSW |
| Clear space around extinguisher | Minimum 1,000 mm | Fire and Rescue NSW |
| Sign colour and lettering | White symbol, border and lettering on red field to AS 2700 | Fire and Rescue NSW |
| Governing standard | AS 2444 for selection and location | CFA Victoria |
| Sign coverage | At least one sign above or adjacent to each extinguisher, including mixed groups | Fire and Rescue NSW |
| Sign size | Selected by mounting position and the distance it must be legible | Fire and Rescue NSW |
Read it in the order an audit runs. Start with visibility: the extinguisher or its sign has to be identifiable from up to 20 metres on approach, in every direction, not only from the spot directly under the bracket. Then mounting height: the sign sits at least 2,000 mm above floor level so it clears heads, stacked pallets and most plant. The extinguisher itself lives in a tighter envelope, with its handle no higher than 1,200 mm and its bottom edge at least 100 mm off the floor so mopping and splashes don't attack it.
Next, the space around the unit. A 1,000 mm clear zone is the difference between an extinguisher someone can grab and one wedged behind a trolley. Colour comes after that: a white symbol, border and lettering on a red field to AS 2700, which is what makes the sign readable at distance against a busy background.
Two rows on that table aren't measurements at all, and they're the ones sites get wrong. AS 2444 governs selection and location, so the sign supports a placement decision rather than replacing it. And sign size is chosen by where it's mounted and how far away it has to be read, which is why there's no single standard dimension to copy across a site.
Practical rule: copy the table into your site audit checklist and measure every extinguisher against every row before the next inspection. A sign that passes eight rows and fails the ninth still fails.
Which Standards Govern Fire Extinguisher Signs in Australia
A sign doesn't comply because it's mounted. It complies because it sits inside a fire protection arrangement designed for the risks on that site, and the sign makes that arrangement findable.
AS 2444, Portable fire extinguishers and fire blankets, Selection and location, is the reference behind the arrangement. Country Fire Authority guidance names it as the source for selecting and locating portable extinguishers, and states that commercial buildings and workplaces must provide extinguishers appropriate to the fire risks present, with installation, quantity, location and type determined by the applicable rules and standards. The same guidance fixes the two figures that shape the sign: the location must be clearly visible from as far as 20 metres in every direction and mounted at least 2 metres above floor level.
How the Standard and State Guidance Differ
AS 2700 handles colour, which in practice means the white symbol, border and lettering on a red field that state guidance specifies for extinguisher locations. The standard and the state fire authority guidance do different jobs. The standard tells you what correct looks like. The state guidance tells you what its inspectors expect, and adds installation parameters on top.
Victoria frames the question broadly, as a risk-based one. New South Wales is more prescriptive, spelling out location signs, mounting heights and clearances. If your site sits in NSW, check both, because the state material carries the detail. If you're elsewhere, start with your own fire authority's guidance before you settle on a height.
Say a warehouse carries three extinguisher types across two levels. One sign can legitimately identify a mixed group, but nothing in the signage rules tells you how many units you need. Your fire risk assessment does that, and the sign then marks each location it creates.
Sites running storage alongside production should also look at how storage unit fire safety systems are set up, because a detached store or demountable on the same property needs the same thinking applied to a different footprint.
Documents to Pull Before an Audit
- The fire risk assessment, since it sets the number and type of extinguishers.
- The extinguisher schedule, listing every unit, its type and its location.
- The sign register, a drawing or photo set showing what was installed and when.
- The state fire authority guidance for each site address, not just head office.
If you need to see how the sign categories fit together before you specify anything, safety signage in Australia sets out the families and where each belongs.
How to Position the Sign and Extinguisher
Positioning is a sequence, and the order matters. Decide where a person will reach for the unit, then place the sign so they see that spot coming.
The four decisions that cause the most rework are below.
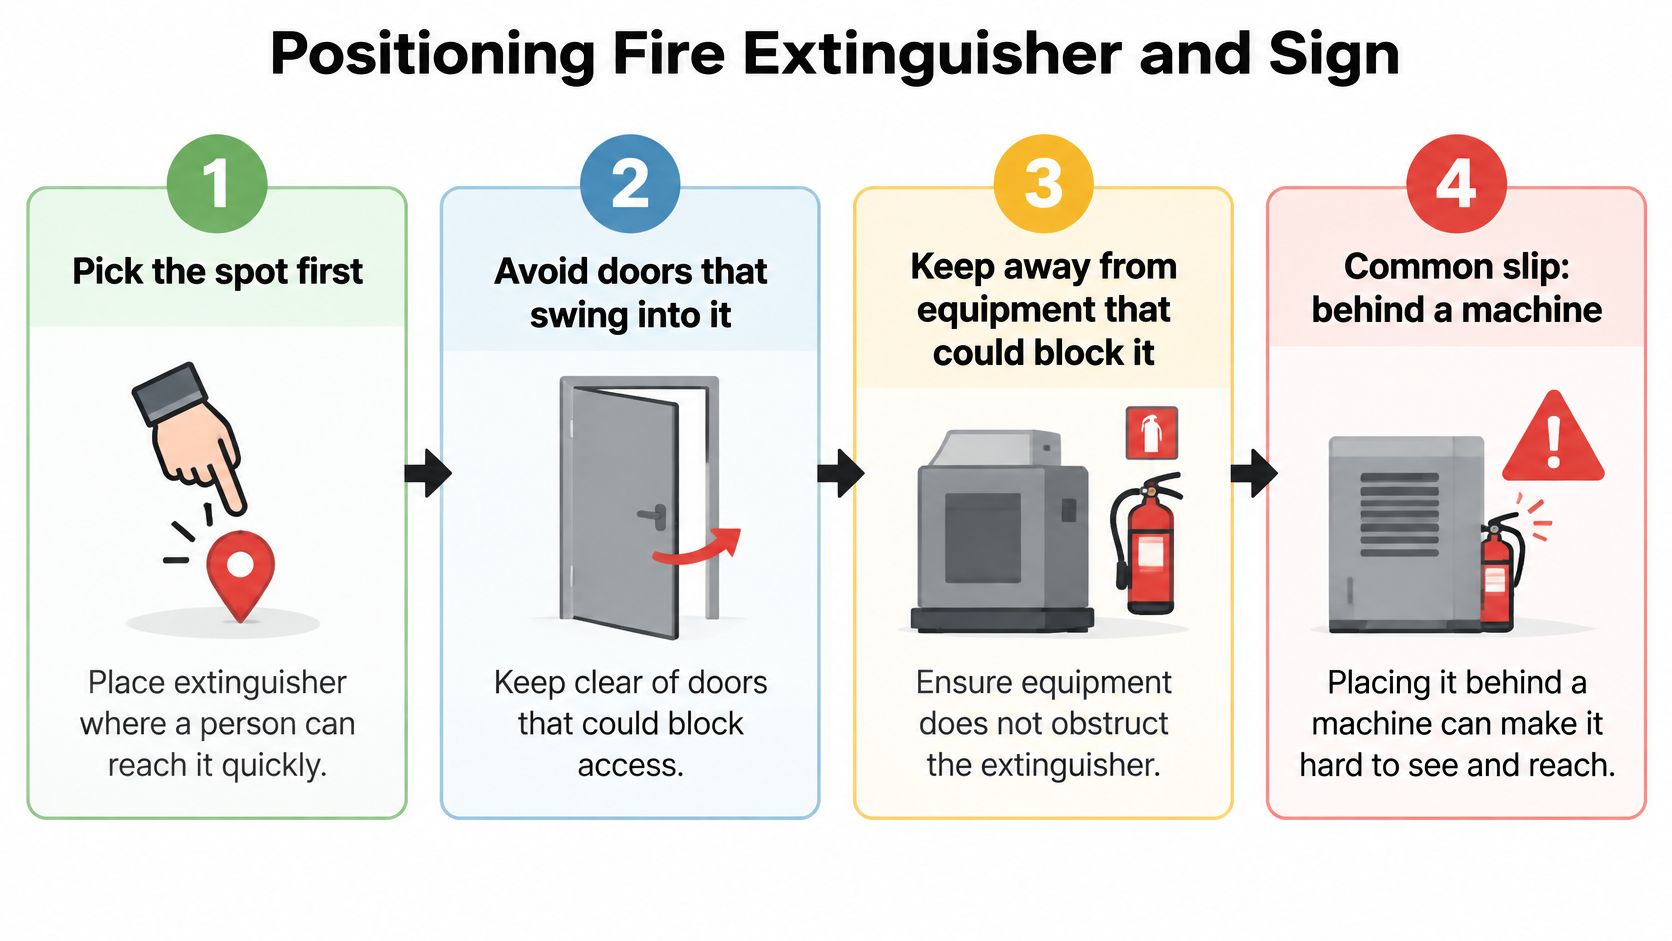
1. Pick the spot first. Put the extinguisher where someone moving past the hazard can reach it without detouring around equipment, ideally on a normal path of travel. The common slip is mounting it behind a machine guard that opens onto the aisle, which reads as accessible on a drawing and isn't in practice.
2. Clear 1,000 mm around the unit. Fire and Rescue NSW recommends a minimum clear space of 1,000 millimetres around each extinguisher, in a conspicuous, readily accessible location. The common slip is a restock that parks a pallet against the wall beside the unit, inside the zone and invisible on the plan.
3. Set the extinguisher's own height. The handle sits no more than 1,200 mm above the floor and the bottom edge at least 100 mm above it, per the same NSW guidance. The common slip is fitting the unit low because those bracket holes were already in the wall.
4. Mount the sign above or beside the unit at 2,000 mm. That's the height that lifts it over stacked material and people's heads. The common slip is hanging it at eye level on a wall that a rack covers six months later.
5. Size the sign to the reading distance. NSW guidance requires the size to be selected according to its location and the distance at which it has to be legible. The common slip is ordering one size for every location on site and hoping.
6. Check group coverage after installation. At least one location sign above or adjacent to each extinguisher, even where one sign identifies several units or a mixed group. The common slip is assuming the sign at the end of the rack covers the unit at the far end.
What good looks like: a person can walk from the entry point to the extinguisher and see the sign before they reach the unit, with nothing solid crossing that line.
The same approach-path test applies to emergency exit signage requirements, where a sign nobody sees until they're standing under it has failed for the same reason.
Sizing Signs and Choosing Durable Materials for Industrial Sites
Sign size follows viewing distance, not the wall space left over. A sign that has to register across a 20-metre aisle needs a larger symbol and bigger lettering than one read from three metres at a bench. Same message, different geometry.
Take a racking aisle 20 metres long. The sign at the end competes with uprights, shrink wrap and whatever colour the stock is this week, so the symbol carries the identification. At a maintenance bench, a compact engraved plate beside the unit does the same job without shouting. Buy one size for both and you either overspend on the bench plate or undersize the aisle sign. That's the specification error I'd expect to find on most sites.
Durability is the second decision, and it's where material choice overtakes design.
| Material | Durability in plant conditions | Best use | Watch for |
|---|---|---|---|
| Stainless steel | High: resists corrosion, impact and cleaning chemicals | Wet areas, plant floors, outdoor walls | Heavier and costlier |
| Aluminium composite panel | Good: lightweight and weather resistant | Warehouses and external walls | Check edge finish in corrosive areas |
| Acrylic | Moderate: fades if exposed to UV | Indoor offices and dry areas | Use UV-stable grades |
| Vinyl adhesive label | Low to moderate: scuffs, lifts and peels | Temporary or low-traffic areas | Not suited to forklift routes |
| Laser-engraved metal plate | High: mark sits in the surface and does not peel | Permanent signs on plant and equipment | Matte finish needed to limit glare |
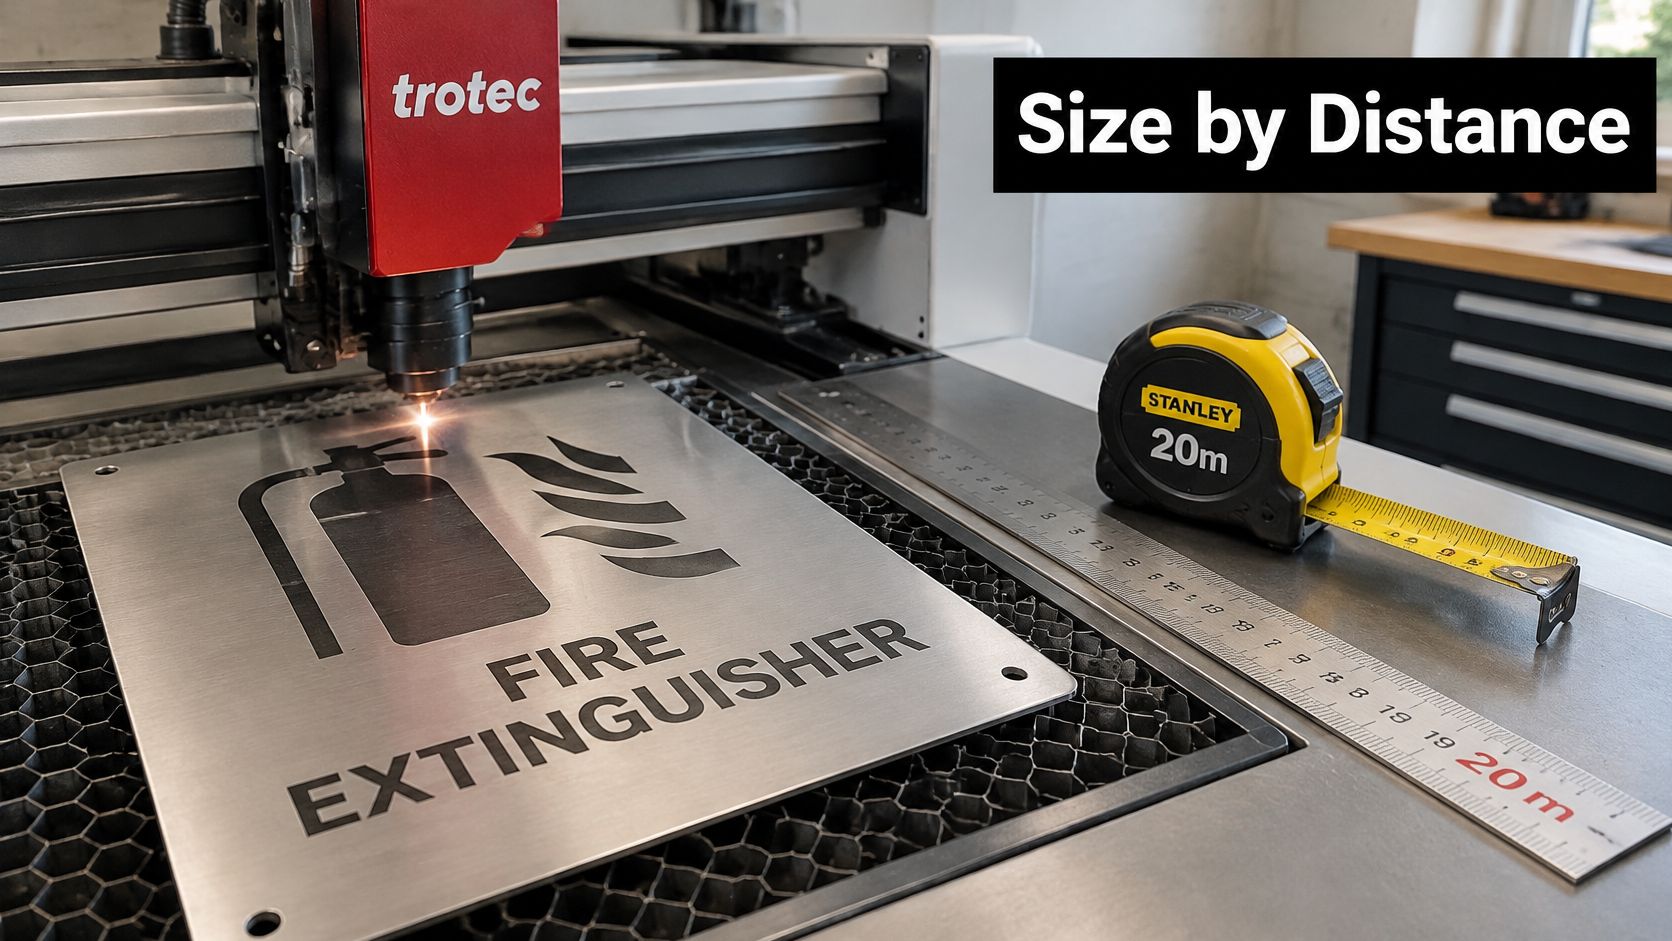
Laser engraving suits industrial sites because of what happens to the material rather than what sits on it. On a Trotec Laser machine, a focused beam marks the surface itself, so the lettering doesn't peel, fade into a film or lift when the sign gets wiped with a chemical cleaner. It stays legible as the surface wears, which is the failure mode that retires most vinyl labels.
Two watch-outs before you order. Glossy faces throw glare under high-bay lighting, so specify matte where the sign is read against a light source. And any plastic going outdoors needs a UV-stable grade, because an acrylic plate that fades to pink in two summers stops being a sign.
Decision rule: dry indoor areas get acrylic or a durable label. Wet, corrosive or high-traffic areas get stainless steel or a laser-engraved metal plate.
Construction sites have their own version of this problem, where signs move with the work front, and construction site safety sign guidance is worth reading before you specify temporary plates against permanent ones.
Testing Sign Visibility and Fixing Common Problems
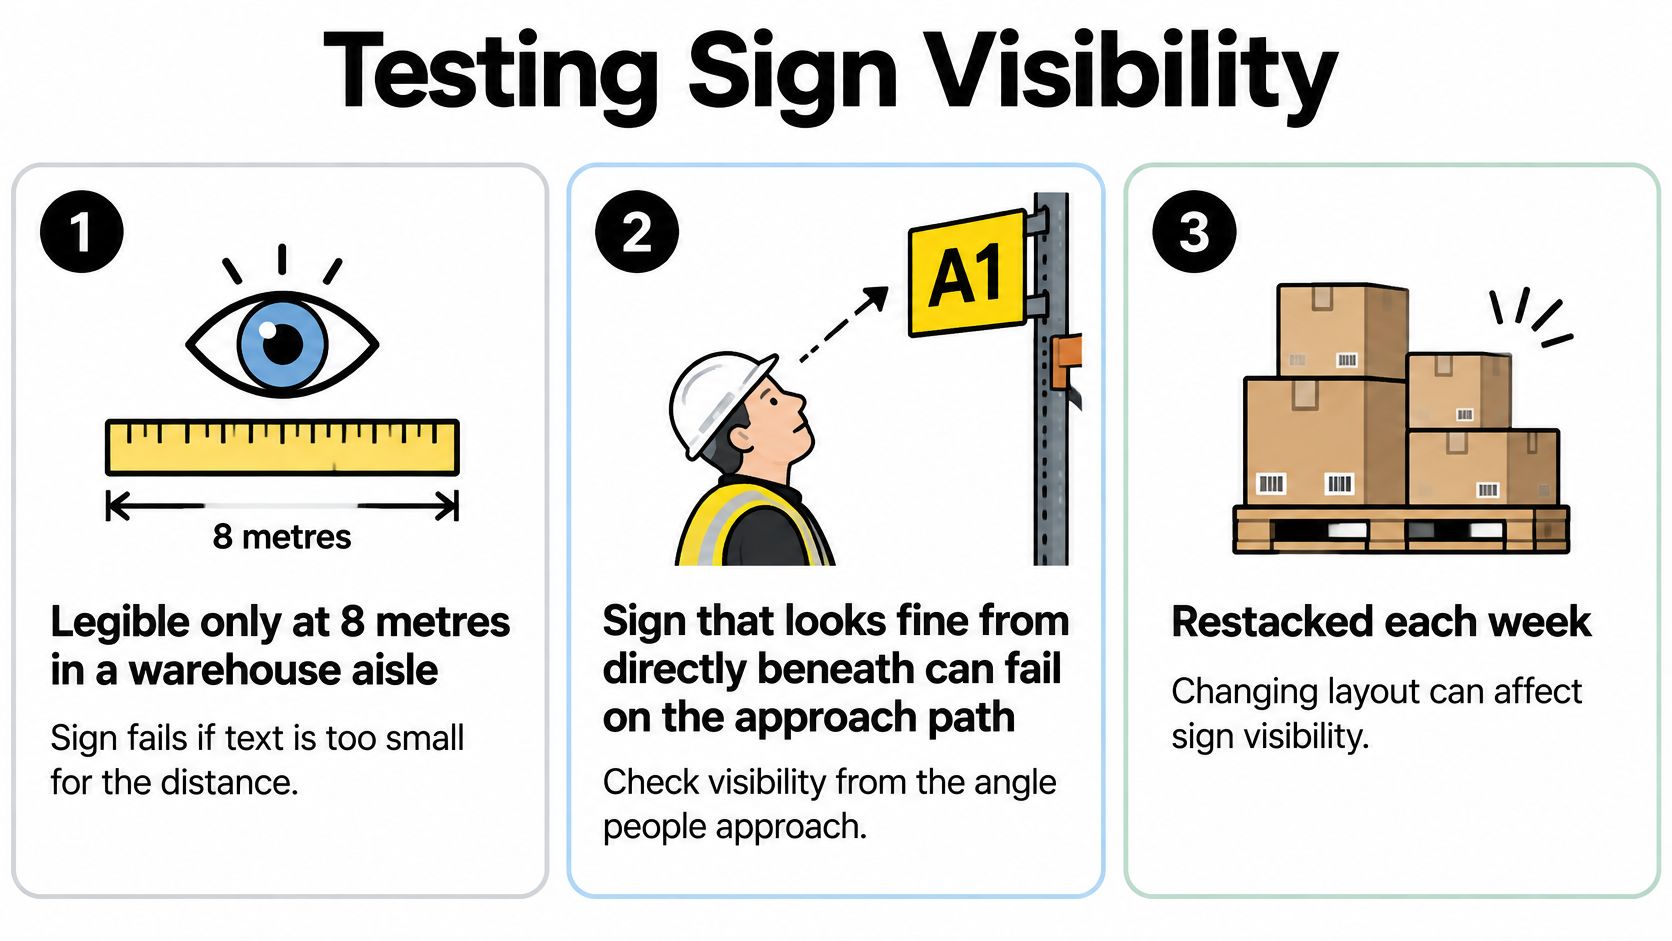
A sign that reads cleanly from eight metres in a warehouse aisle looks compliant until you notice the aisle is restacked every week. The stock moves, the sightline goes, and last quarter's pass becomes this quarter's obstruction. Nothing about the sign changed; the building around it did.
Checking from directly beneath the bracket tells you almost nothing. Fire and Rescue NSW guidance is explicit that the extinguisher or its sign must remain clearly visible on approach from up to 20 m, and that obstructions, low-contrast backgrounds, poor lighting and unsuitable mounting locations directly delay identification of the equipment, according to the portable fire extinguisher information for business page.
Three threats catch out otherwise tidy sites. Red machinery parked behind a red sign flattens the contrast the colour scheme depends on. A glossy face under high-bay lighting throws a glare patch at exactly the angle someone approaches from. And the dim corner of a plant, where nobody has changed a fitting in years, turns a compliant sign into a shape.
Run the Walk Test the Way a Responder Would
- Stand at the main entry point and try to locate the sign without walking toward it.
- Walk the approach path toward the extinguisher and note the distance at which the sign first becomes readable against the 20-metre target.
- Repeat from every likely direction, since the requirement applies in every direction, including the cross-aisle nobody uses except at shift change.
- Photograph the sightline from each point and log any obstruction with the date and the person who walked it.
- Fix, then retest. Move the sign, enlarge it or relocate the stock, and walk the route again before closing the item.
The fix usually isn't subtle. A larger sign, mounted higher, with the stock moved out of the sightline solves most of what the walk test finds.
Symptom, Cause and Fix
| Symptom | Likely cause | Fix |
|---|---|---|
| Sign hidden behind stock | Pallets or racking added after installation | Relocate stock or remount the sign so the sightline is clear |
| Sign unreadable from the aisle | Lettering too small for the distance, or low contrast | Replace with a larger white-on-red sign |
| Sign sits below 2,000 mm | Installed for an older layout and never rechecked | Remount at least 2,000 mm above floor level |
| Sign faded or peeling | UV exposure or adhesive label on a wet surface | Replace with a metal plate or UV-stable panel |
| Extinguisher moved, sign left behind | Relocation without an update to the sign | Move the sign with the unit and recheck clearance |
| One unit in a group unmarked | Mixed group covered by a single sign that misses a unit | Add a sign above or adjacent to each unit |
| Sign hard to see under lights | Glossy finish reflecting overhead lighting | Switch to a matte finish and retest at 20 m |
Lead time is where these fixes differ. Remounting a sign, moving a pallet and re-aiming a light fitting are same-day jobs with a ladder and a pallet jack. Replacing the sign itself is different: an engraved stainless plate is produced to order, so don't discover the need the week before an inspection.
Record every retest in the site fire file with the date, the route walked, the distance at which the sign first became readable and a photo from the entry point. That record is what turns a one-off tidy-up into a defensible maintenance routine, and it tells the next inspector you've measured rather than guessed.
Confirm Your Signs Before the Next Audit
Five steps finish this work this week.
- Map every extinguisher on a site plan, so the count on paper matches the count on the floor.
- Measure each unit against the benchmarks. Handle height, bottom edge, clear space, sign height. Tape measure, not eye.
- Walk the 20-metre approach from every entry point and log where each sign first becomes readable.
- Replace what's faded, peeling or unreadable, and remount anything below 2,000 mm. Usually a half-day with a drill and a ladder.
- Set a re-check date after any layout change, restock or new equipment. Layout is what breaks signs, so tie the re-check to the change rather than the calendar.
For the signs themselves, Evright Industrial, part of Australia's laser engraving and awards company evright.com, produces asset labels, safety signage, steel plaques, panels, switch plates, electrical switchboards, stencils and laser cut architectural designs, and can mark on almost any material. The engraving method explains the durability. A focused beam on a Trotec Laser machine is directed onto the surface, marking or removing a thin layer so the design becomes part of the material rather than a sticker sitting on top. Because the design lives in the file, the same mark repeats consistently across a run, which matters when ninety extinguisher plates have to look identical from three metres away.
Compare that against your own measurements, and work from the compliance and audit readiness guidance if you need a structure to hang the checks on.
Evright Industrial produces laser-engraved safety signage, asset labels and steel plaques that hold their lettering through cleaning, weather and plant-floor traffic, which is what a 20-metre visibility requirement asks of the sign itself. Send through your extinguisher schedule, mounting heights and material preferences and we'll work out what each location needs. Visit Evright Industrial to see the materials and finishes we mark every day.
Recent Comments