

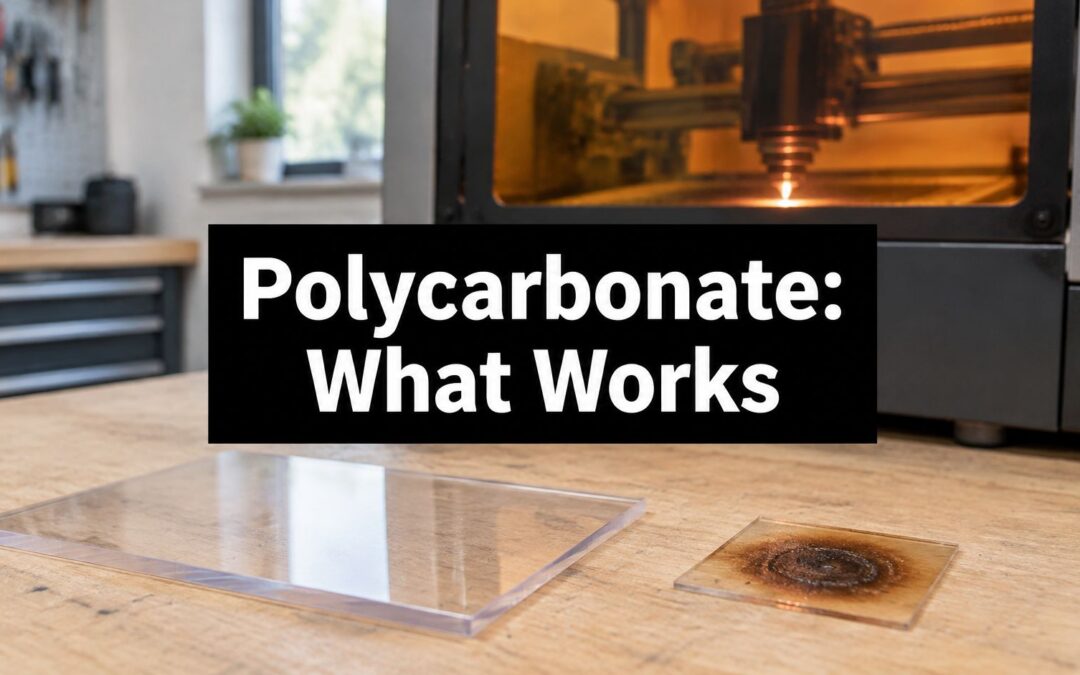
Polycarbonate can take a laser mark, and it can also melt into a useless plate under the same class of machine. The difference is rarely the brand name on the sheet. It is the grade, the additives, the wavelength, and whether anyone qualified a coupon before the job went to the floor.
Laser engraving polycarbonate only works as a controlled process. Treat the sheet as an engineering plastic with a paper trail, not as a forgiving sign material.
Is Polycarbonate Suitable for Laser Engraving?
Yes, with a hard limit on trust. Polycarbonate can be laser marked and even cut, but it is a process-sensitive engineering plastic. It rewards a test coupon. It does not forgive a guessed setting the way cast acrylic often does.
The University of Melbourne's Fab Lab lists polycarbonate among the plastics it will cut and engrave, up to a maximum sheet thickness of 9.5 mm. That figure is an operational limit for that facility, not a promise that every 9.5 mm sheet will mark cleanly. Wavelength, power, focus, speed, ventilation, surface finish and the particular formulation all change the result. Edge appearance and contrast cannot be read off nominal thickness.
How the common sheet types behave
| Polycarbonate type | Laser marking outlook | Main risk | What to do first |
|---|---|---|---|
| Uncoated clear or lightly tinted sheet | Poor first choice; contrast inconsistent | Melting, browning, rounded cavities | Test a coupon or switch to a laser-markable grade |
| Laser-markable capped or coated sheet | More controllable marking | Cap layer varies by supplier and batch | Confirm the cap layer and batch with the supplier |
| Flame-retardant or additive-loaded grade | Unpredictable response | Resin-dependent emissions and behaviour | Obtain the safety data sheet before any run |
| Laminated or multi-layer construction | Restricted to a proven full stack | Delamination and heat transfer between layers | Test the full construction, not the nominal sheet |
| Unknown grade or trade name (Lexan, Makrolon) | Cannot be judged until verified | Mislabelled acrylic or unknown polymer | Verify the polymer identity before marking |
Two sheets sold as polycarbonate can leave the laser looking nothing alike. Pigment, a cap layer, a flame-retardant package or a laminate changes absorption even when the base resin name matches. Online advice often swaps polycarbonate for acrylic. Acrylic frosts cleanly under a CO₂ beam. Uncoated polycarbonate tends to soften, brown and flow.
I would not mark a trade name until the polymer is identified. Lexan and Makrolon are polycarbonate families, not a single marking recipe. Clear uncoated sheet is the hardest case. A capped laser-markable grade is the one worth qualifying for plastic engraving on equipment plates and labels.
Practical rule: no production mark until the exact grade and a batch-matched coupon are both in hand.
Why Polycarbonate Melts Instead of Marking Cleanly
Marking uncoated polycarbonate is closer to pressing a hot iron onto cling wrap than to slicing paper with a knife. The polymer takes the energy, softens, and moves. It does not leave a crisp cavity the way a material that vaporises cleanly would.
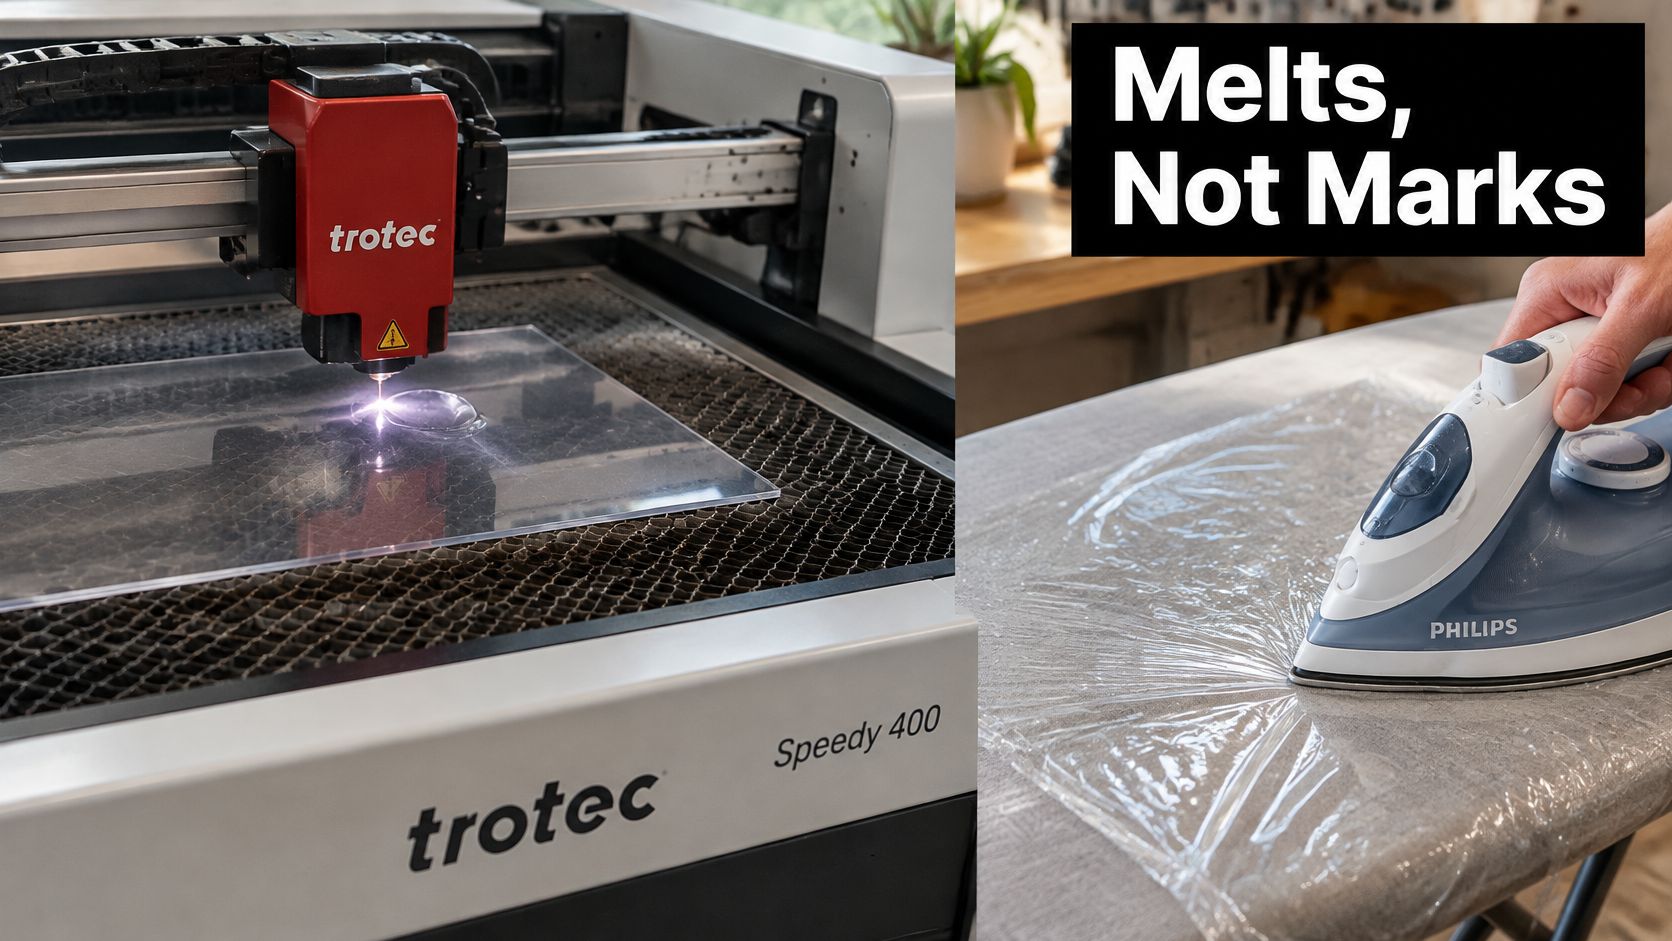
On a CO₂ system the thermoplastic matrix absorbs infrared energy and melts before it vaporises cleanly. The CSIRO's laser-safety guidance for experimental work is aimed at beam control, and the same enclosed, extracted setup is what you need while you learn how this plastic fails. What you see on the part is mechanical, not mysterious.
Rounded cavities. The walls slump instead of staying square, so fine text loses its corners.
Redeposited melt. Material pushed out of the line cools as a raised rim. A barcode ridge can throw a scanner even when the line looks dark.
Edge burrs and reverse-side warp. Heat soaks through thin sheet. The face you did not mark can bow while the marked face still looks acceptable under a quick glance.
Clear and lightly tinted surfaces make this worse. There is little pigment to carbonise into a dark mark, so contrast shifts with the light. A line that reads on the bench can vanish against a bright guard or a backlit panel.
Why a cap layer changes the result
A laser-markable capped or coated grade is built so the surface darkens while the bulk stays below its flow point. The cap is a product, not a property of every polycarbonate. The same beam recipe on an uncoated clear sheet and on a capped grey sheet will not match.
CO₂ light, about 10.6 µm, is absorbed strongly by many polymers, which is why heat builds fast. A fibre source, near 1 µm, couples differently, so the same grade can frost, darken or barely react when you change machines. Coupon trials for production work belong on the Trotec Laser platform that will run the job, photographed and logged as a machine setup, not copied from a drawing or a video still.
Any change that raises heat input, more power or a slower pass, pushes the mark toward melt. The target is a dark, stable line with a flat reverse side.
Fume, Heat and Beam Hazards to Control
The common assumption is that a shallow mark is automatically a safe mark. It is not. Through-cutting dumps far more polymer into the heat zone than a surface pass, so cutting data cannot be pasted onto a light engrave and called proof. Pulse length, wavelength, thickness, additives and extraction all change what leaves the sheet and what the surface looks like afterwards. Measure that on the grade in the machine.
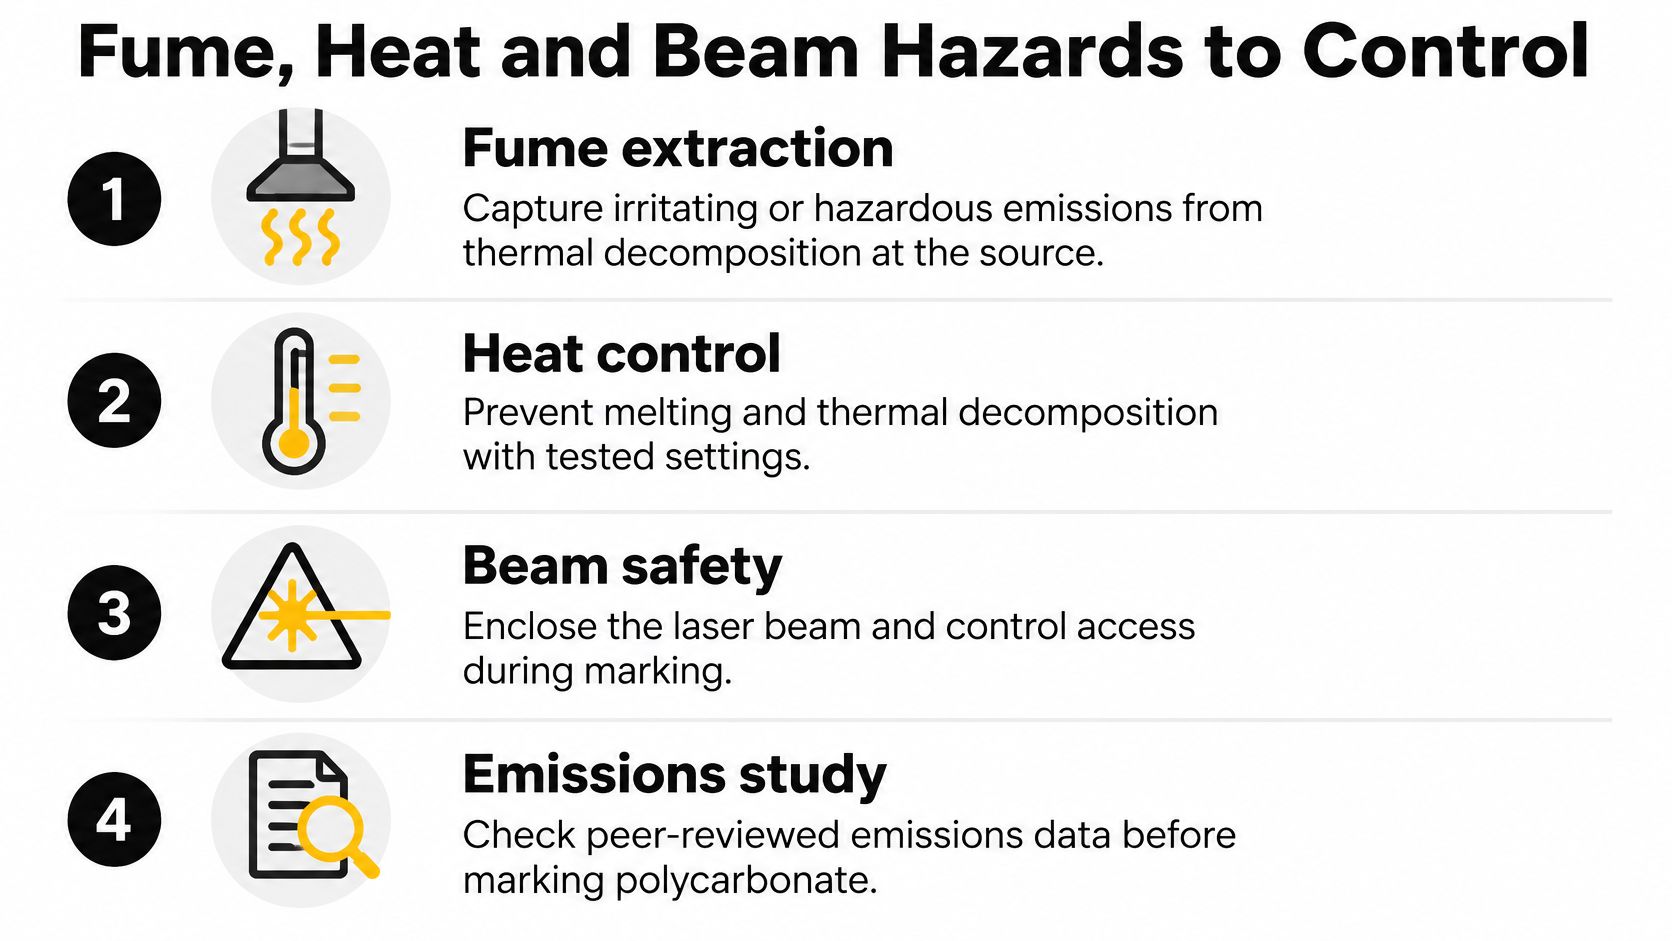
A peer-reviewed emissions study found that laser cutting polycarbonate generated high levels of phenols. That is thermal decomposition, not a harmless smell. Shallow marking may release less, but no one should treat “less” as safe until the exact grade has been run under proper extraction. New stock stays in the hazardous column until the coupon and the exhaust check say otherwise.
Controls at the machine
- Enclose the beam. Interlocked access so the lid cannot open while the source is firing. Open-beam trials do not belong on this plastic.
- Prove extraction before you add power. Confirm flow at the bed, not after the first wisp of smoke.
- Route the exhaust properly. Keep it off fresh-air intakes and filter it for the emissions you expect from that resin.
- Clear the beam path. Reflective fixtures, loose tools and jewellery do not sit in or beside the field. Polished guards and metal jigs are the usual surprise.
- Keep the safety data sheet and the operator log at the machine. The next shift should not guess which grade is on the bed.
- Stop on browning, heavy smoke or a sharp smell. Review the grade before another pass.
These controls sit beside the settings. They do not replace a qualified recipe. Sites that already run laser safety standards for asset plates should apply the same enclosure and extraction rules to every polycarbonate trial, including the short ones.
If the sheet browns or the room smells sharp, the trial is over. Do not “finish the code” and ventilate later.
Settings That Control Contrast and Distortion
Power density, scan speed, pulse frequency, focus offset and extraction decide how much heat stays in the polymer. Change one of them and the others stop meaning what they meant on the last coupon.
| Setting | If too high | If too low | First adjustment |
|---|---|---|---|
| Power density | Melting, browning, rounded cavities | Faint mark with weak contrast | Lower power before lowering speed |
| Scan speed | Excess heat and distortion | Under-marked, unreadable code | Increase speed in small steps |
| Pulse frequency | Heat accumulation and melt | Broken or patchy line | Adjust in fine steps on the same coupon |
| Focus offset | Wide, blurred line | Narrow, shallow mark | Trial small offsets and compare edge quality |
| Air extraction | Cooler surface, but may disturb the plume | Smoke, residue and redeposit | Confirm full extraction before raising power |
What each row is really doing
Power density is heat per unit area. Too much and the line collapses into a brown, rounded groove. Too little and a Data Matrix stays grey. Drop power before you slow the head. Slowing down to “burn it in” is how plates warp.
Scan speed is the other half of that heat budget. A slow pass piles energy in one spot even at modest power. A fast pass can leave a broken code that scans on Monday and fails after a wipe. Move speed in small steps on one coupon so you can see the change.
Pulse frequency controls how the energy arrives. Packed pulses accumulate heat and the rim rises. Sparse pulses leave a dashed line that fails a verifier. Nudge frequency on the same piece, then stop and look, rather than stacking three changes and hoping.
Focus offset is the usual false alarm. A wide, soft line is often a focus error, not a power shortage. A narrow, shallow tick is the opposite, the waist sitting off the surface. Trial small offsets and judge the edge under magnification before you touch power again.
Air extraction is a setting, not a background hum. Weak flow leaves smoke, residue and redeposit on the mark. Very strong flow can cool the surface and shove the plume so the contrast goes patchy. Confirm full extraction first, then raise power.
Say a coupon browns along the character edges after a second pass. Lower the power or raise the speed before you touch focus. A blurred first pass is the focus problem. A brown rim on a sharp line is a heat problem.
Record every combination, including whether extraction was confirmed, the focus offset, and which face was up. A recipe that is not written down is a recipe you cannot repeat on the next batch of the same nominal sheet.
How to Qualify a Polycarbonate Grade Before Marking
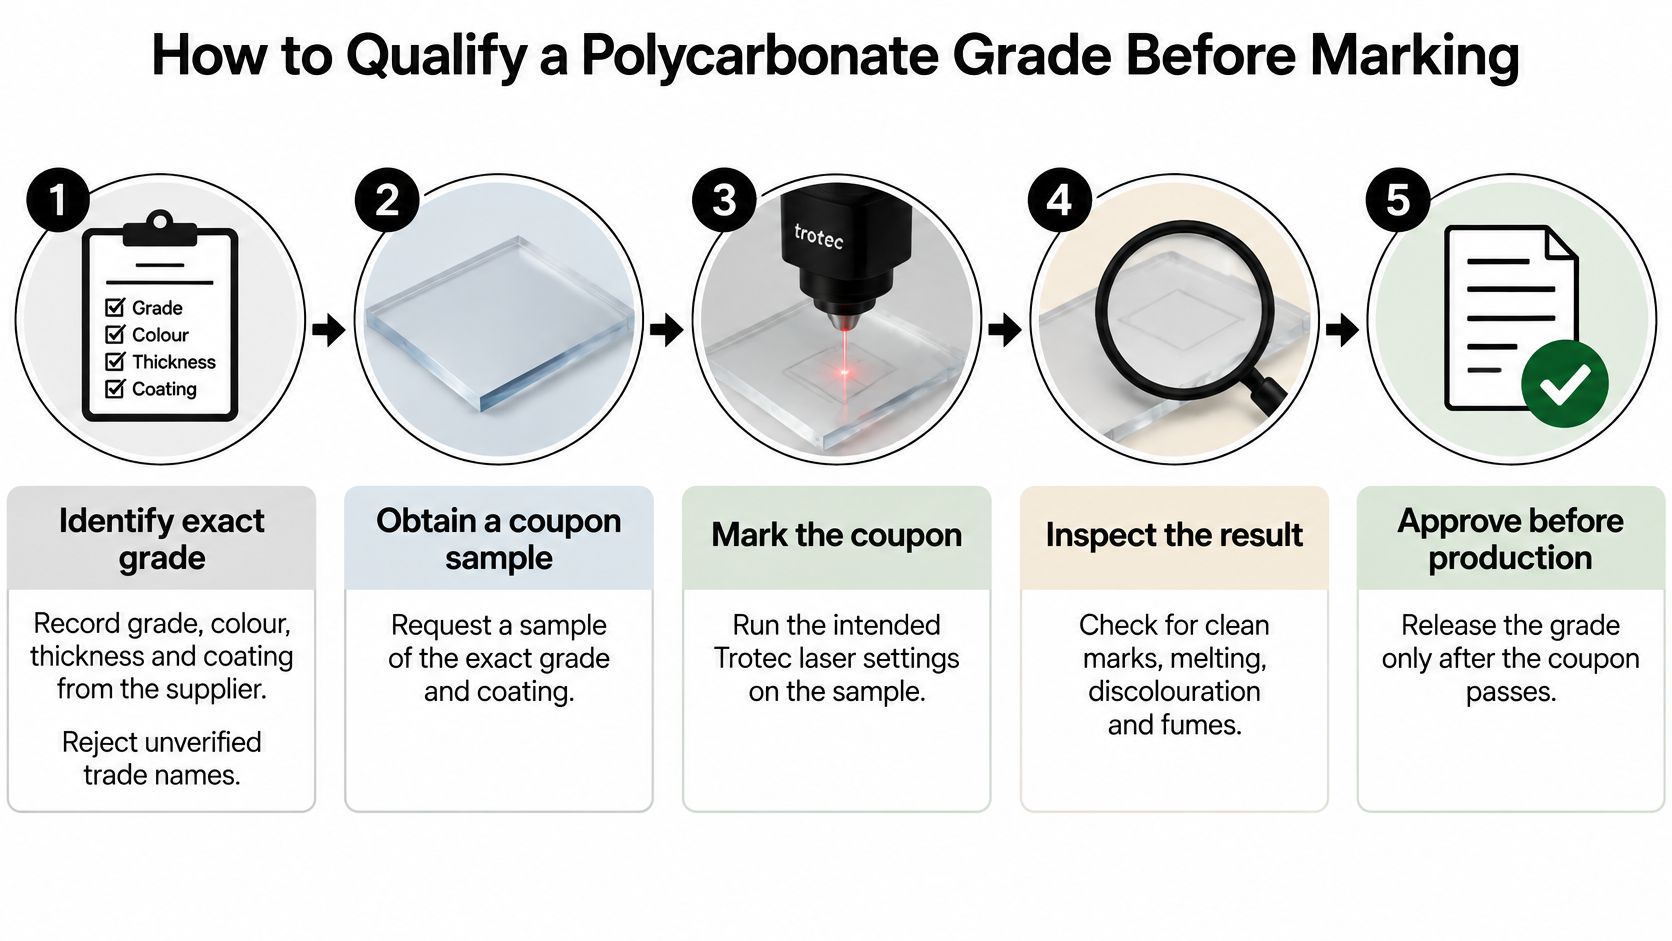
A polycarbonate mark is only qualified for the grade and batch tested. Resin, colourants, flame retardants, coatings and thickness can change how the sheet responds, so a result on one sheet does not establish a production recipe for another.
The routine before any order
- Identify the sheet. Record the grade, colour, thickness and coating using the supplier's exact description. “Polycarbonate” alone is not enough to reorder a qualified material reliably.
- Review the material information first. Request the resin and additive declaration and safety data sheet. Check for flame retardants, pigments and coatings, since they can affect marking behaviour and fume controls.
- Test a batch-matched coupon. Run a parameter matrix, changing one setting at a time. Keep the test material tied to the identified grade and batch.
- Inspect the mark. Use magnification to check for cracking, browning, distortion and raised edges. A dark mark with a cracked surface fails, even if it scans initially.
- Apply the expected service exposures. Test abrasion, the cleaning chemicals used on site, UV exposure for daylight applications, and temperature cycling that reflects the enclosure.
- Verify with the service reader. Use the scanner intended for the finished item. A phone camera does not establish that a code will read at its point of use.
- Document the release criteria. Record contrast, minimum character height, barcode readability, dimensional change and coating adhesion. Include the material identification and successful settings so the test can be repeated.
A passing result is specific: the mark withstands the listed exposures, the reverse side remains flat, and a second coupon from the same batch reproduces the result. Treat any change in grade, additive package, coating or batch as a reason to reassess the qualification. For help selecting a material for a marking project, review Evright Industrial's laser marking materials and test the intended grade before production.
Where Polycarbonate Marking Fits and Where It Does Not
Fit is an application question once a grade is real. A qualified capped sheet can carry indoor asset marks. The same sheet is the wrong call on a hot, loaded part.
| Application | Polycarbonate fit | Check before committing |
|---|---|---|
| Indoor equipment asset labels | Suitable with a qualified grade | Barcode readability and adhesion |
| Electrical panel and switchboard identification | Suitable only with a verified grade | Flame-retardant additives and heat exposure |
| Healthcare facility signage | Conditional | Cleaning chemical resistance and sterilisation exposure |
| Outdoor infrastructure labels | Conditional | UV exposure and long-term colour change |
| Frequently handled safety signage | Conditional | Abrasion resistance after marking |
| Heat-exposed or high-load components | Usually not suitable | Melting and dimensional change; consider another material |
Indoor equipment plates are the cleanest use, provided the code still scans and any cap still adheres after the qualification set. Electrical panels only belong here when the flame-retardant package is known and the local temperature has been part of the test. Healthcare signage fails under disinfectants if that chemical was never on the coupon. Outdoor labels need a UV check, not a guess about “UV-stable” marketing lines. Handled safety signs need an abrasion result after marking, because a pretty first-day contrast can polish off.
What small-field identification actually asks of the plastic
UNSW Sydney documents a RayJet U300 fibre marker at 20 W, with a working area up to 190 mm by 190 mm (a 36,100 mm² field). The process list includes engraving, and the intended work includes permanent marks on metals and plastics such as serial numbers, fine text and Data Matrix codes. That envelope suits compact plates, component tags and control-panel marks. It is not a large-format sheet cutter. The 20 W rating is also a reminder that speed, pulse behaviour, focus, pigment and coatings change heat and readability, so polycarbonate still needs its own proof on that class of job.
If the grade cannot be verified, or the site is harsher than the tests you ran, leave the polymer. A printed label or a mechanical mark on another substrate is the safer asset record.
A 190 mm field is enough for a tag or a panel ID. It is not a reason to skip the grade check.
Confirm a Sample Before Ordering Polycarbonate Marks
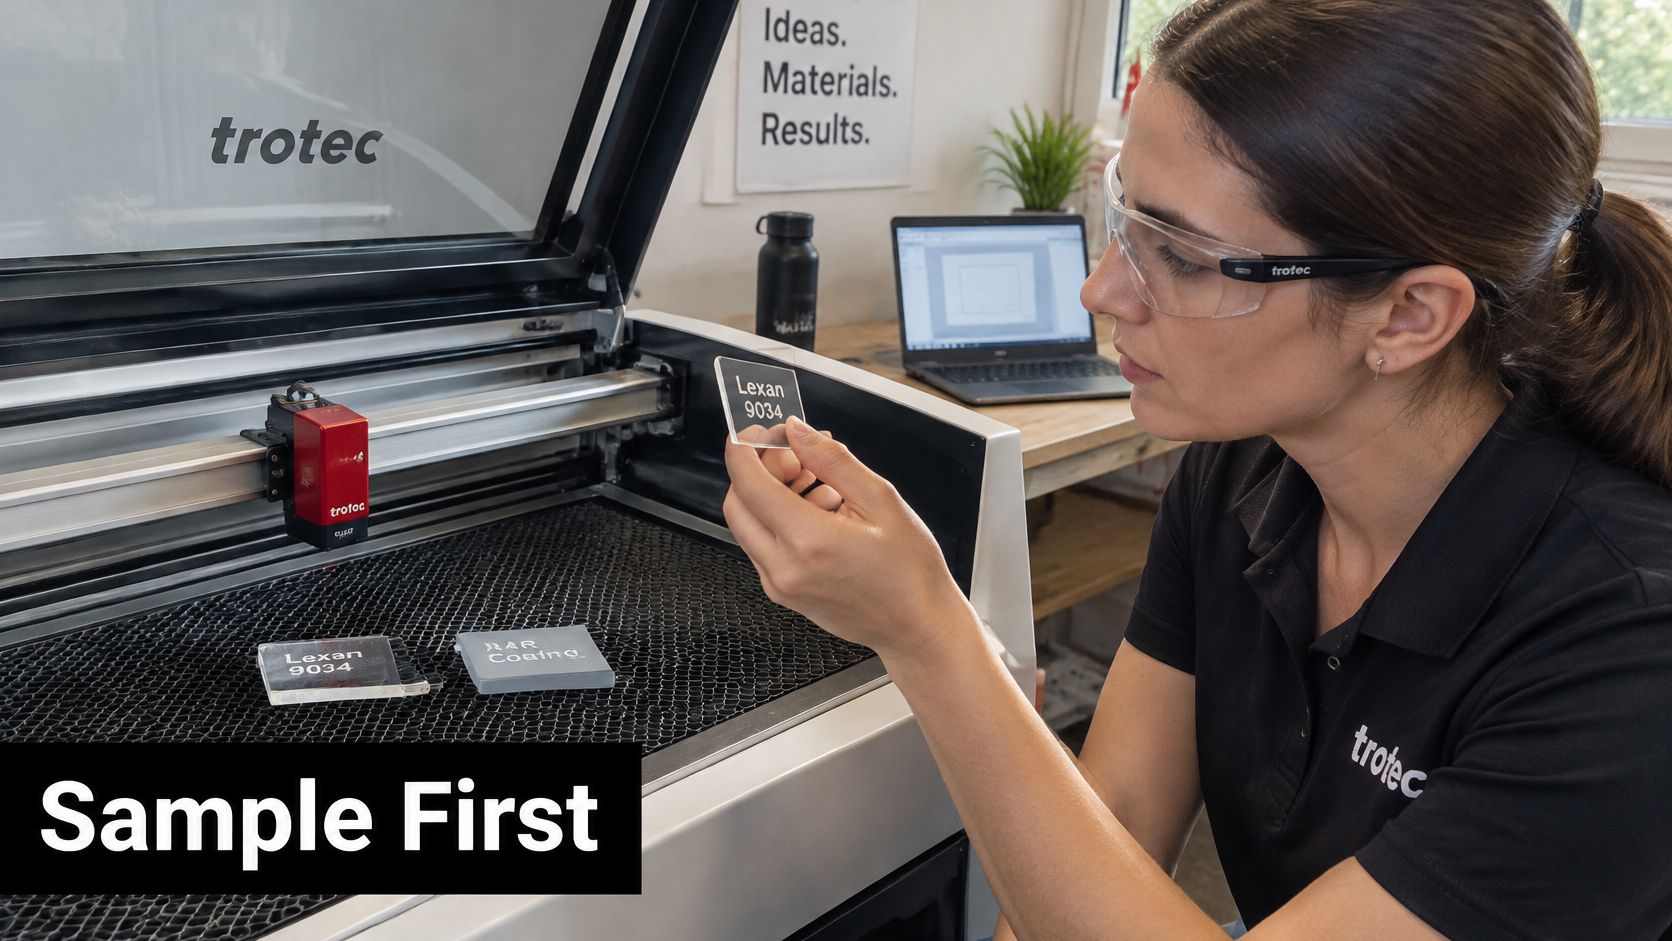
A coupon is the production decision in miniature. Confirm the grade, mark a sample on the machine intended for the job, and approve it against written criteria before ordering production quantities.
What to lock before the coupon runs
Inputs. Record the exact grade, colour, thickness and coating. Specify the expected exposure, such as UV, cleaners, abrasion or temperature, and request the resin declaration and safety data sheet if available.
Acceptance criteria. Agree on contrast, minimum character height, barcode readability, dimensional change and coating adhesion before marking. “Looks marked” is not a usable release standard.
Machine and sample. Evright Industrial focuses on laser engraving for asset labelling and industrial engraving, using Trotec Laser machines in production. Its sampling service lets customers test materials and marking finishes, and customers can be invited onsite to see the production facility. Qualify the sample on the intended equipment and grade.
Review and release. Compare the coupon with each acceptance criterion. Record a pass or fail rather than relying on a verbal “looks fine.” Teams using quality control AI for plant managers can record the coupon release alongside other checks.
Production record. Keep the approved recipe, batch identity and scanner result together. Use that record to assess repeat orders rather than relying on memory.
The clip below shows a marked sample to assess for flatness, legibility and melt rims before approving a quantity.
Approve the sample against the agreed criteria before production. A first-batch failure is an expensive way to discover that the resin does not mark cleanly.
Evright Industrial marks equipment labels, safety signage and industrial plates. Share the grade, coating and expected site exposure to arrange a sample of the finish. Evright Industrial.
Recent Comments