

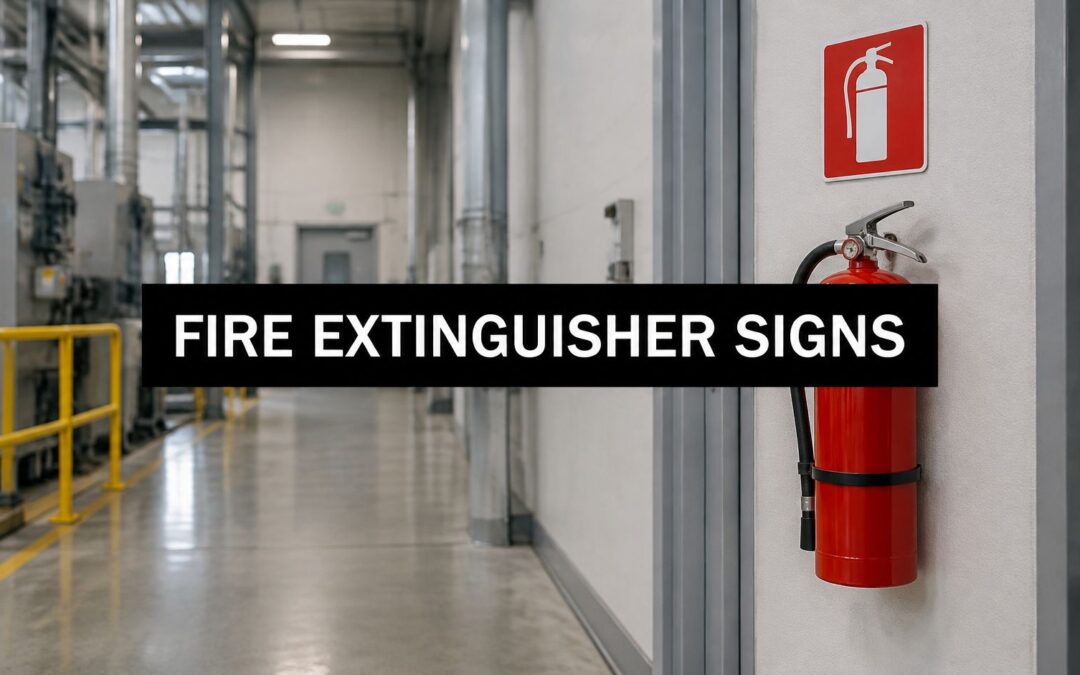
You're walking the production floor before an inspection. The extinguishers are mounted and serviced, but from the corridor you can't see the sign behind a stock cage. Someone who knows the building might find the unit. A contractor arriving for the first time might walk straight past it.
Fire extinguisher location signs should reduce search time, not identify equipment once someone's standing beside it. Start with the approach route, then choose the sign's position, size and material around what a worker can recognise from there.
Location Sign Requirements and Search-Time Design
Minimum location sign requirements in Australia
| Requirement | Minimum or rule | Source |
|---|---|---|
| Mounting height | 2,000 mm or more above floor level | NSW fire authority guidance and Victorian guidance |
| Visibility distance | Clearly visible from up to 20 m on approach | Victorian CFA guidance and NSW guidance |
| Clear space around extinguisher | 1,000 mm minimum recommended clearance | Fire and Rescue NSW portable extinguisher guidance |
| Colour scheme | White symbol, border and lettering on a red field | AS 2700 as referenced by NSW guidance |
| Sign per extinguisher | At least one sign above or adjacent; one sign may identify a group | NSW fire authority guidance |
| Reference sign format | 225 mm wide by 150 mm high, FIRE above EXTINGUISHER | AS 2444 illustrated format |
| Enlarged signs | Keep the same proportions as the reference sign | AS 2444 |
| Governing standard | AS 2444, Portable fire extinguishers and fire blankets, selection and location | Victorian fire authority guidance |
Treat this table as a design baseline, not a declaration that every installation is compliant. Check the applicable building fire-safety schedule, local requirements and current applicable edition of AS 2444 before ordering. The illustrated reference format also needs to be distinguished from the size your particular sightline requires.
Why height, distance and contrast work together
Height clears everyday obstructions. A sign mounted above the extinguisher can still disappear behind racking, stacked cartons or an open door. Measure from the finished floor, then look towards the sign from the occupied aisle rather than approving it from directly underneath.
Distance determines whether people discover the equipment early enough. NSW guidance allows the extinguisher or its location sign to provide the required visibility. For a sign-led design, test both recognition of the fire-equipment location and readability of its message, rather than assuming a visible red rectangle is sufficient.
Contrast makes the message distinguishable. Preserve the prescribed red-and-white treatment instead of substituting corporate colours, bare metal or decorative finishes. A durable engraved plate with weak contrast is a poor location sign, however neatly it's manufactured.
The sign-per-extinguisher rule prevents an apparently obvious installation from going unidentified. Where a sign identifies grouped equipment, its position should make that relationship clear rather than appearing to point towards another doorway or cabinet.
Keep discovery separate from access
Clear floor space and visible identification solve different problems. A worker may spot the sign immediately but still be unable to reach the extinguisher because someone has parked a pallet jack beneath it.
Practical rule: Approve the view towards the sign and the route to the extinguisher separately.
A standard format also gives unfamiliar contractors and visitors a consistent visual cue. Coordinate extinguisher markers with other workplace safety signage so competing notices don't crowd the same sightline.
For a separate household prevention checklist, facility managers can browse practical fire prevention advice from Upchurch Inspection. Use it for general prevention awareness, not as authority for Australian workplace sign placement.
Before purchasing, mark every proposed sign on the site drawing and check each table entry against the installation. Resolve uncertain locations with the person responsible for the building's fire-safety requirements, especially where relocating equipment rather than signage may be necessary.
Sizing Signs for the Distance They Must Be Read
A worker turns into an aisle at walking pace and has a few seconds to spot red, read the words and keep moving. Size the plate for that search, from the farthest clear approach the site allows.
The AS 2444 illustrated-format reproduction shows a 225 mm-wide by 150 mm-high rectangular sign with FIRE above EXTINGUISHER, and states that enlarged signs retain the same proportions. Use it as the artwork pattern, then scale the whole pattern when the approach runs longer.
Use a sizing allowance, then test it
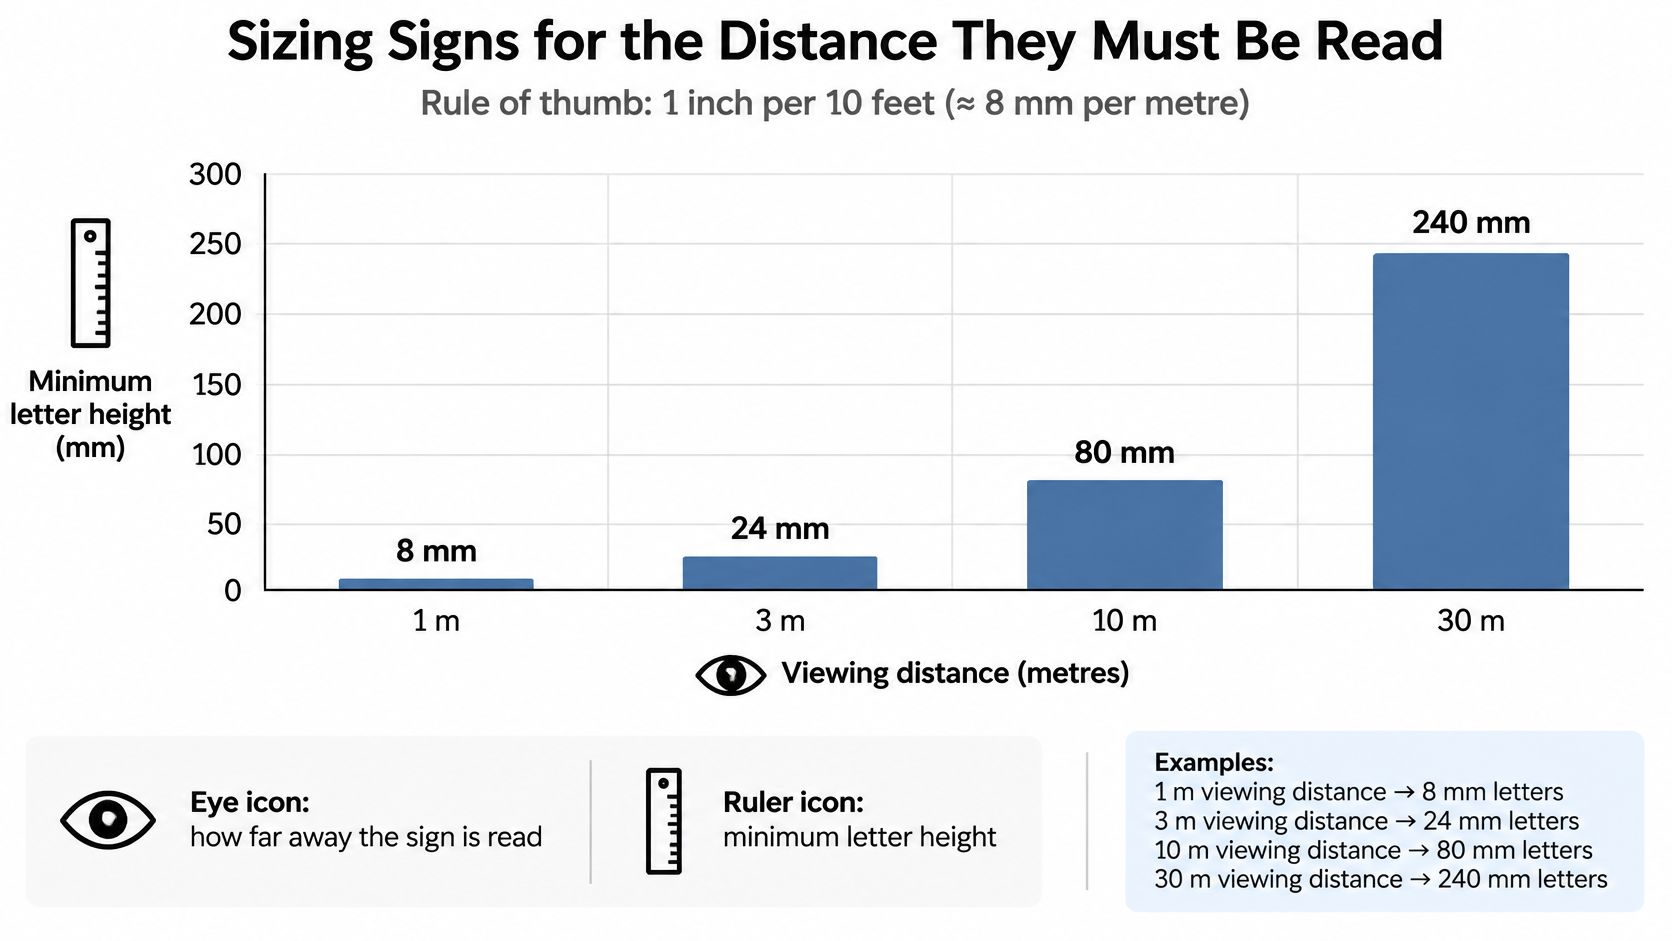
For a hypothetical artwork-sizing exercise, suppose the designer adopts one inch of letter height per ten feet of viewing distance. Converting that assumed ratio gives approximately 8.33 mm per metre: trial allowances would be about 42 mm at 5 m, 83 mm at 10 m, 125 mm at 15 m and 167 mm at 20 m.
Treat those figures as prototype targets. The 20 m allowance exceeds the 150 mm height of the illustrated panel, so borders, spacing and two lines of copy force a larger plate before any artwork is drawn.
Letter height by viewing distance
| Viewing distance in a hypothetical layout | Sizing action | Typical location |
|---|---|---|
| 5 m | Trial about 42 mm letter height and read the full two-line format from the corridor | Corridor bay in direct view |
| 10 m | Allow about 83 mm letter height; enlarge the whole format if borders crowd the message | Open production floor |
| 20 m | Allow about 167 mm letter height and scale panel, border and spacing together | Long approach sightline |
A long corridor is unforgiving. Stretching letters or squeezing the border keeps the plate small while wrecking the proportions that make the format easy to recognise.
A lettering calculation helps select a prototype. Only the installed sightline tells you whether that prototype works.
Start with the longest unobstructed approach in the building. Produce full-size artwork, mount a temporary sample at the intended position, and read it under operating lighting before applying the same check to the other routes.
How to Audit Sign Placement Route by Route
A worker heading to a meeting room takes the back corridor, not the front entrance shown on the drawing. If the sign fails from that direction, the placement fails. A location sign is a search-time control, so audit it from every route a person could arrive on, at the distance it has to work.
Carry a site plan, tape measure or laser distance meter, camera and route checklist. Bring someone who does not know the building, because familiarity hides weak signage. Staff already know where the extinguisher hangs; a stranger only has the sign.
NSW fire authority guidance sets the two reference points for the walk-through: location signs visible from up to 20 metres in all directions and mounted at least 2 metres above floor level. Check both on real approaches. A sign can pass on the drawing yet sit behind racking on a side aisle.
Walk the routes people actually use
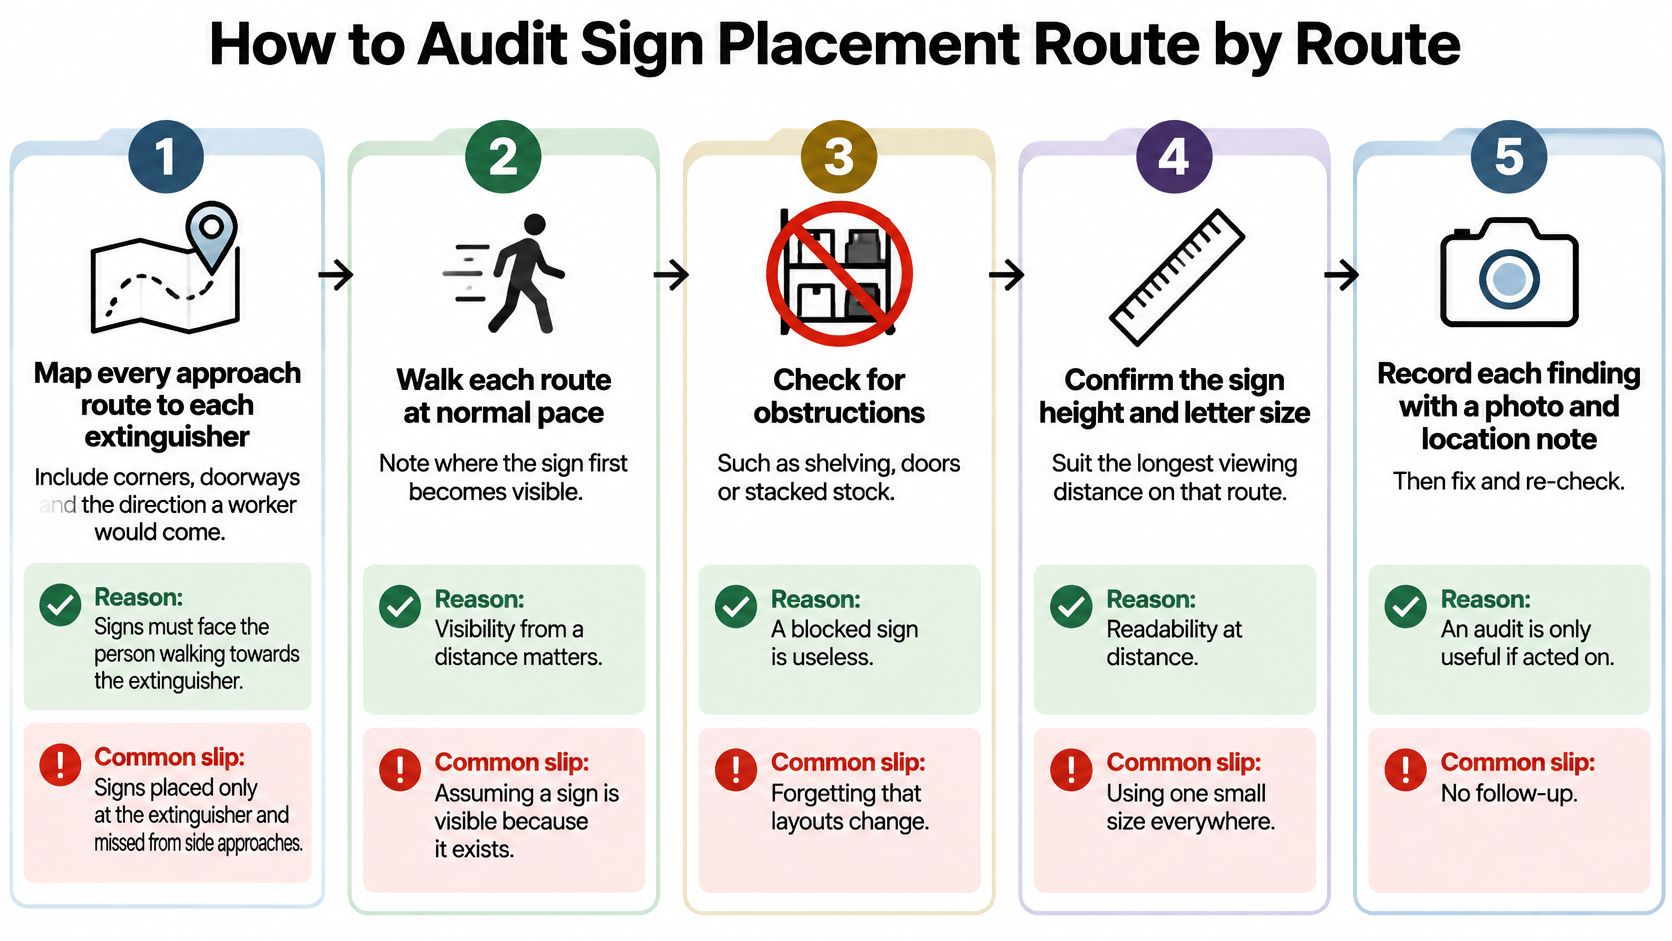
Map every approach. Include corners, doorways, cross-aisles and routes from adjacent workstations. Checking only the main entrance misses workers arriving from behind the sign.
Measure mounting height. Record the installed position against the 2-metre requirement, then check whether stock or racking interrupts the sightline. A correctly measured height still fails if the view is blocked.
Walk the full approach. Start at 20 metres where the building permits it, and check recognition at normal walking pace. Stopping, leaning sideways or searching around a column indicates a placement problem.
Check movable obstructions. Open nearby doors and inspect hanging banners, plant, stock cages and pallet positions. A sign checked only with doors closed and aisles empty may fail during normal operations.
Test operating conditions. Check daylight glare from loading bays and the lighting used after dark. A flash photograph can hide the poor contrast workers face.
Confirm access around the unit. Check the recommended clearance, not only the hook or cabinet. Temporary storage that someone promises to move during an emergency still counts as an obstruction.
Add direction where needed. Use supplementary directional identification at a corner or junction when the extinguisher sits out of sight. Keep the location sign at the unit so the arrow leads to an unmistakable destination.
This process graphic provides a compact reminder for the walk-through.
Separate minimums from usability
Regulatory dimensions do not settle every human-factors question. Glare, low light, crowded plant rooms and multilingual workplaces need practical checks with the people who use those areas. Ask a worker on each shift to find the unit at walking pace. A sign you spot while standing still can still be missed mid-task.
Smoke can compromise visibility regardless of sign quality. A successful walk-through confirms the signage works under normal conditions; it says nothing about whether occupants can reach firefighting equipment during a fire.
Record each route, viewing distance, obstruction, photograph and corrective action. Include an owner and a re-check status in your safety compliance audit record, so the next inspection starts with evidence rather than memory.
Choosing Durable Materials and Engraving Methods
Sign material durability and legibility by setting
| Material | Typical setting | Durability in harsh conditions | Legibility after engraving |
|---|---|---|---|
| Anodised aluminium, laser engraved | Factory floors, outdoor and wet areas | High with a suitable coating and controlled engraving; assess exposure | Strong contrast where engraving exposes lighter metal |
| Stainless steel, laser marked | Chemical, washdown and outdoor sites | Very high with a suitable grade; not immune to chemical attack | Can be lower contrast unless colour-filled or marked with a contrasting process |
| Two-layer engraving plastic | Offices, clinics and light plant areas | Moderate; non-UV-rated grades can fade outdoors | High where contrasting layers are exposed |
| Screen-printed powder-coated steel | Budget indoor sites | Moderate; exposed print wears under abrasion | Good initially, declining as print wears |
Choose against the harshest condition at the installed location, not the average conditions elsewhere in the building. Cleaning chemicals, sunlight and repeated contact each require a different material decision.
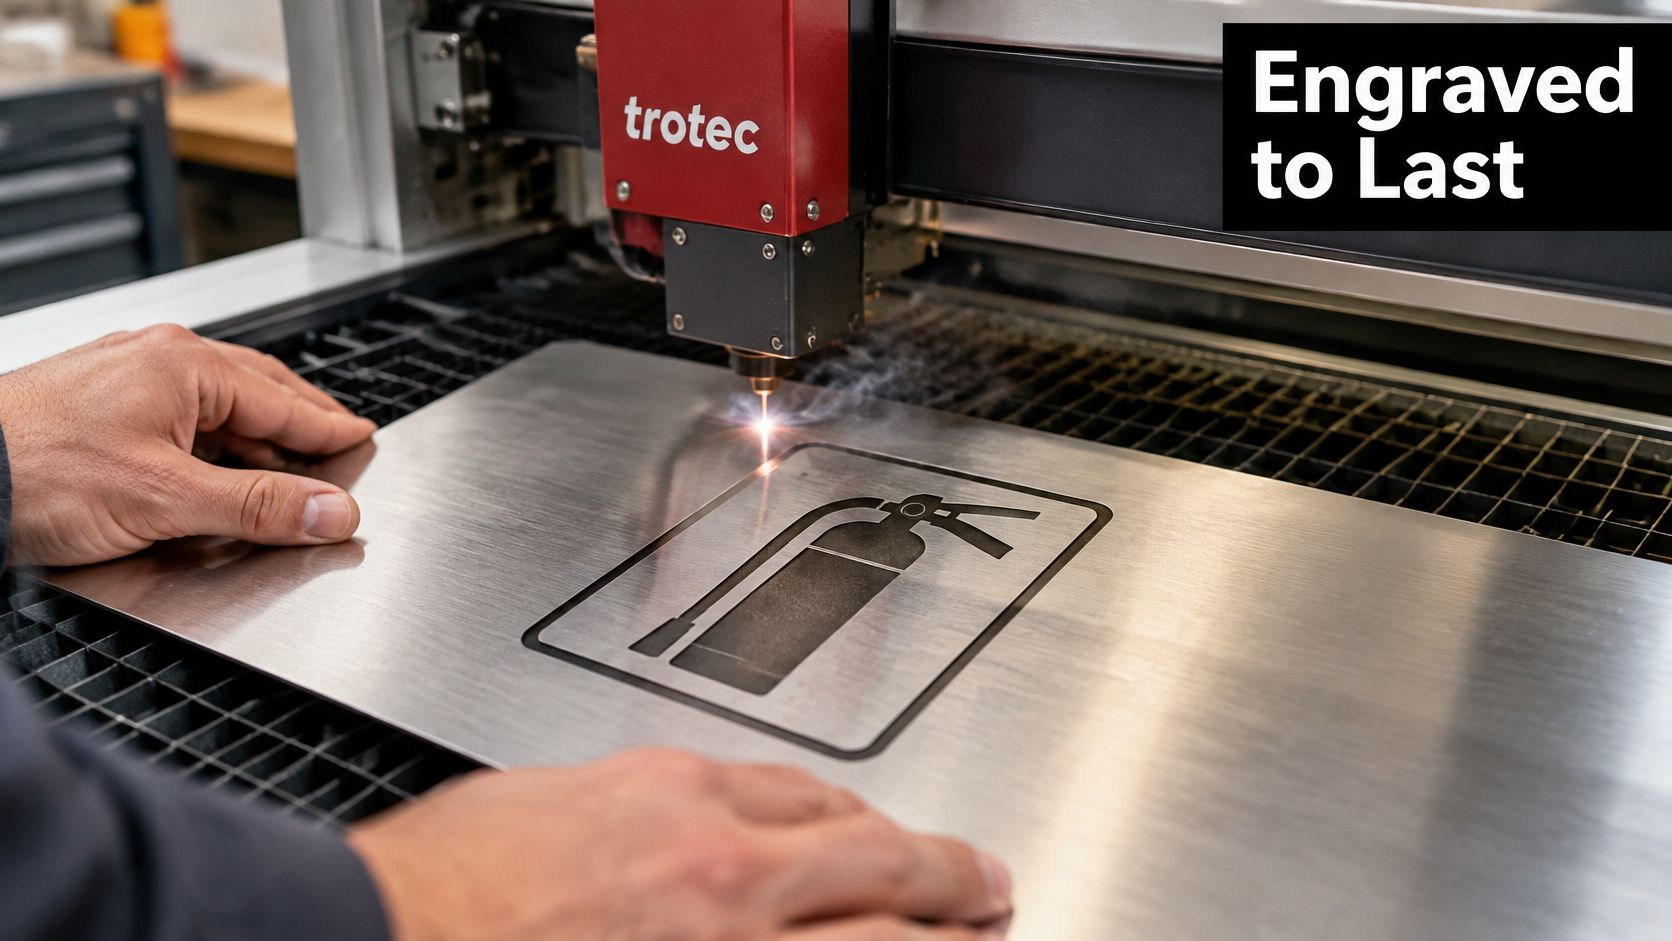
A Trotec Laser machine provides controlled marking of a sign panel, rather than mechanical cutting of the lettering.
Match the surface to the exposure
Anodised aluminium is a useful option where low weight and a cleanable face matter. Removing the red surface selectively can expose lighter metal, but the finished appearance still needs assessment against the prescribed white-on-red format.
Stainless steel suits demanding cleaning environments when the grade matches the exposure. Its trade-off is contrast: a subtle metallic mark may be excellent for asset identification but unsuitable for distant emergency recognition.
Two-layer engraving plastic offers clear colour separation for sheltered interiors. Specify an appropriate exterior grade where sunlight reaches the sign, rather than assuming all engraving laminates have equivalent UV resistance.
Screen-printed powder-coated steel can suit protected indoor installations. Keep the printed face away from repeated handling or scraping, because a sound steel panel doesn't prevent its message wearing away.
Control the mark, then approve the sample
Laser engraving uses a focused beam to remove or alter a surface layer in a controlled pattern. Power, speed, focus and material response influence depth and contrast; a deeper mark isn't automatically a better sign.
The machine video provides additional process context.
For custom engraved signs, specify the cleaning method, exposure and required colour treatment alongside the artwork. Approve a sample using the intended substrate and finish, not a different material that happens to photograph well.
Material selection: A permanent mark is useful only while its message remains recognisable.
Check the sample after cleaning with the product normally used in that area. Durability never substitutes for adequate size, contrast or an unobstructed mounting position.
Three Site Examples and What Changes in Each
Manufacturing plant with a concealed approach
Suppose an extinguisher sits behind a press, with its location sign high on a pillar. From beside the machine, everything looks obvious, but a hanging stock cage hides the sign from the aisle.
Move the cage or reposition the approach-facing identification where it can be discovered, while retaining clear location identification at the unit. Add a directional sign at the relevant junction if the press still conceals the destination.
Check the approach first, particularly movable items suspended above the working area. Raising the existing sign without checking the cage's full movement may create another obstruction.
Warehouse with tall racking
In a hypothetical warehouse, the rack contents rise above the existing wall sign. The sign hasn't faded or fallen off, yet workers looking down the aisle can't distinguish it from the stock.
An enlarged sign above the racking line may help, provided its angle, mounting and lettering suit the approach. A projecting arrangement may be more useful where people approach parallel to the wall, but it also needs protection from handling equipment.
Check the fully stocked condition first. An empty rack bay is a poor basis for approving the final sightline.
Clinic with unfamiliar occupants
A clinic has rotating staff, visiting contractors and patients who read different languages. Its extinguisher sits beyond a corridor corner, and an improvised text-heavy notice competes with appointment information.
Use the consistent red-and-white format and recognisable symbol, with supplementary direction at the corner. Check the view under evening lighting and keep unrelated notices away from the fire-equipment identification.
Check the unfamiliar visitor's decision point first, not the view from the nurses' workstation.
Across these scenarios, the same misconception causes trouble: a sign doesn't make a blocked extinguisher accessible. If reaching the unit requires shifting equipment or entering a hazardous space, the facility manager needs to resolve the access or location problem, not merely order a bigger sign.
Confirm Your Sign Plan Before Your Next Audit
Approve the installation as a complete arrangement: route, sign, mounting and accessible equipment. Ordering replacement panels before resolving the sightlines can leave you with durable signs in the wrong places.
Prepare an approval pack
- Trial the actual sample. Read the proposed engraved sign from the intended approach under daytime glare and after-dark operating conditions. Use the finished material rather than relying solely on a screen proof.
- Confirm colour and artwork. Check the red field and white symbol against the applicable colour requirements. Confirm the lettering, border and spacing remain proportionate after enlargement.
- Consolidate the records. Bring together the site plan, extinguisher schedule and route-audit photographs. Give each location a selected sign size, material, mounting arrangement and unresolved-action note.
At Evright Industrial, we offer engraving and marking projects and advise customers on materials. We can mark on almost any material, and our work includes identifying markers for defence and essential services items.
For process information, visit evright.com. Laser production starts with artwork loaded into the machine software, followed by material-specific settings that control how the beam changes the surface; approve the resulting contrast on a physical sample.
Keep sign manufacturing approval separate from fire-safety compliance approval. Material and artwork advice helps you specify the panel, while the applicable building requirements and site assessment determine whether the finished installation is suitable.
Evright Industrial offers engraving and material advice for fire extinguisher location signs suited to different workplace conditions. Visit Evright Industrial and send your site plan, extinguisher locations and route-audit findings so our team can help recommend a material and sign size for each area.
Recent Comments